
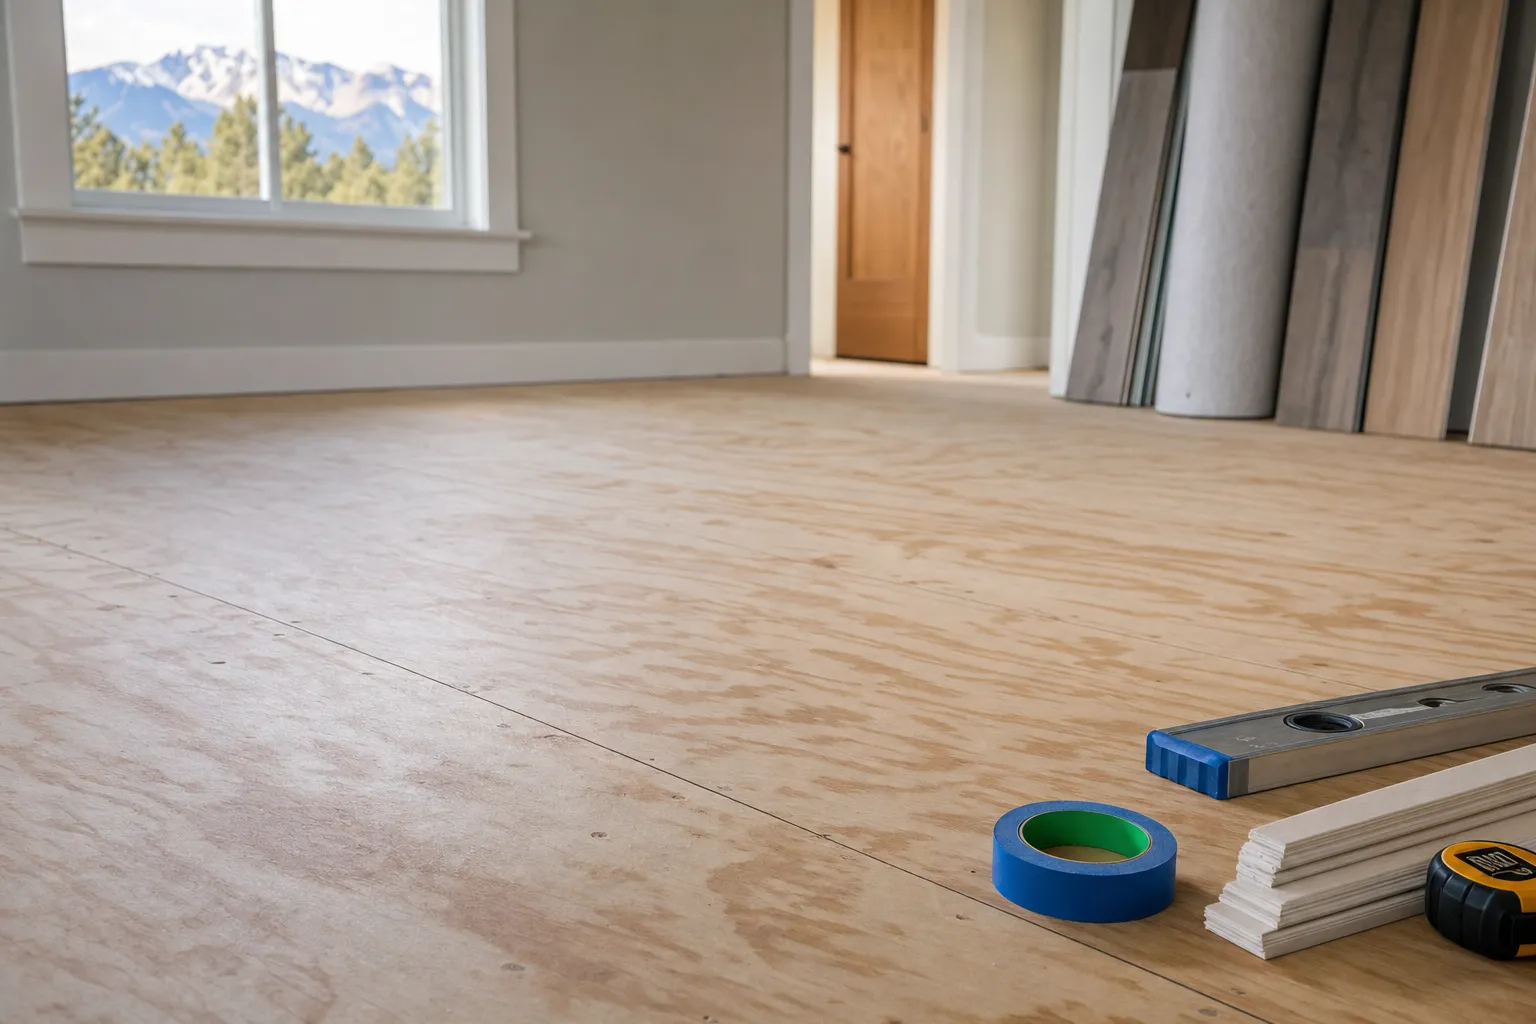
Proper subfloor preparation prevents squeaks, uneven or hollow spots, premature failures, and warranty problems. At Homestead Improvements we evaluate moisture, flatness, structural attachment and substrate compatibility before any flooring installation, and we repair or make recommendations so the new floor performs as intended.
What subfloor preparation means
Subfloor preparation is the set of inspections and corrective steps taken to make the surface under finished flooring stable, dry and flat enough to accept the chosen material. It covers everything from checking for rot and attachment issues, to moisture tests and surface leveling. Preparation is not cosmetic. It is the foundation of a lasting flooring job.
Why subfloor preparation matters in Colorado Springs
Colorado Springs has a high desert climate with large seasonal humidity swings and significant daily temperature variation. Those conditions affect how wood and composite materials move. If a subfloor is uneven, damp, loosely fastened or incompatible with the finish floor, the result can be squeaks, gaps, buckling or a failed adhesive bond within months.
We have worked on homes across neighborhoods from Broadmoor to Briargate, and we see the same key risk factors repeatedly: moisture intrusion after roof leaks, older homes with narrow joist spacing, and subfloors that were layered over without being corrected. Because we have remodeled locally since 2000, we treat subfloor work as part of a whole house system, not an add on.
Key concepts every homeowner should know
- Flatness tolerances. Different floor types require different flatness. For example, many wood flooring manufacturers and the National Wood Flooring Association recommend a tolerance around 3 16ths of an inch over 10 feet for solid hardwood, though your product may have its own spec. We check manufacturer instructions before approving a substrate. Source: National Wood Flooring Association.
- Moisture and vapor control. Concrete and some older subfloors can hold moisture. Flooring adhesives and engineered planks can fail if moisture vapor emission rates exceed the product limits. We perform moisture tests and follow manufacturer guidelines for barriers and testing methods. For background on moisture and flooring, see the University of Minnesota Extension guidance on flooring and moisture.
- Structural attachment. A subfloor must be solidly fastened to joists. Loose or missing fasteners create movement, which shows up as squeaks and gaps. We inspect fastener patterns and correct where needed.
- Substrate compatibility. Not every finish floor can be floated over every subfloor. Some vinyl and tile products need cement backer board or specific underlayments. We select the right approach for the chosen flooring.
Common subfloor problems we find
- Rot or wood decay from past leaks, especially near bathrooms and exterior doors.
- OSB swell or delamination around high moisture areas.
- Unevenness from old repairs, multiple layers of flooring, or poor original installation.
- Loose nails or screws and insufficient fastening that allow movement between joists and decking.
- High moisture vapor emission from slab on grade or basement slabs without a proper vapor barrier.
How we assess a subfloor, step by step
- Initial walk through. We look for signs of water damage, prior repairs, and areas with visible bounce or deflection.
- Measure flatness. We use a straight edge and laser instruments to check tolerances relative to the finish floor requirements and manufacturer specs.
- Moisture testing. For wood we use a non invasive moisture meter and pin meters where appropriate. For concrete we use relative humidity or calcium chloride tests per the product instructions.
- Attachment check. We examine fasteners and joist spacing and note where screws or adhesive may be required to remove movement.
- Plan corrective work. Based on findings we recommend options such as localized repairs, sistering joists, adding a mechanical fastener pattern, installing a cement backer board, or applying a self leveling underlayment.
What good subfloor work looks like
- Flatness within the tolerance the chosen flooring requires, verified across the room.
- Moisture readings below the limits set by the flooring manufacturer and industry guidelines.
- Secure attachment to joists, with squeaks eliminated and no perceptible bounce.
- Clean, well prepared surface with appropriate underlayments or vapor control in place.
Options we commonly use to correct problems
We pick solutions that match the problem and the finished material. Examples we deploy include:
- Replacing small sections of rotted decking, and matching subfloor thickness to avoid telegraphing.
- Sistering or reinforcing joists in rooms with deflection problems.
- Installing cement backer board for tile work, and using manufacturer recommended thinset systems.
- Applying self leveling compound over an approved prime when flatness is the only issue and the substrate is sound.
- Adding a mechanically fastened overlay or switching to a floating installation when substrate conditions and product allow.
Pro tip: Always review the finish flooring manufacturer's installation instructions before selecting a corrective method. Following those specs protects warranties and helps avoid remedial repairs later.
What we do not recommend as a permanent fix
Layering thin materials to hide unevenness without addressing structural movement, or applying patch compounds over visibly rotted wood, are temporary measures. They may look acceptable initially but usually lead to failure. We explain tradeoffs so you can choose the right long term approach for your budget and the expected life of the new floor.
Watch out: If a moisture test on concrete or wood is above manufacturer limits, installing flooring without addressing vapor control or moisture sources risks adhesive failure and cupping. Moisture problems require diagnosis and repair or mitigation before new flooring goes down.
Checklist for homeowners before a flooring project
Preinstallation checklist
- Confirm the desired finish floor and review its installation requirements.
- Ask your contractor about the planned moisture tests and flatness checks.
- Note recent leaks, stains or previous repairs and tell the contractor where they are.
- Decide whether furniture and trim will be removed by the crew or left in place.
- Plan for access and ventilation during work periods.
Comparing common subfloor materials
| Subfloor type | Notes |
|---|---|
| Plywood | Stable, widely used under hardwood and laminate when dry and properly fastened. Easier to repair in sections. |
| OSB | Cost effective and common. Susceptible to swelling with prolonged moisture exposure. Check edges and seams for integrity before finishing. |
| Concrete slab | Requires moisture testing and appropriate vapor control. Flatness is typically good, but surface must be prepared for adhesives or membranes. |
Related services and coordination
Subfloor work often involves more than one trade. If we find roof leaks, water intrusion or framing issues we coordinate with our roofing repair team and other specialists. As a general contractor that handles flooring and related trades, Homestead Improvements can sequence repairs so the subfloor work aligns with any needed drywall repair, trim work or finish carpentry.
Learn more about our flooring installation services, or read our topic page about subfloor preparation for more detail on underlayments and testing.
When to consider professional help
Call a licensed remodeler if you see recurring moisture stains after apparent repairs, if rooms have noticeable bounce, if multiple flooring layers have been installed over time, or if you plan a higher value finish such as solid hardwood or large format tile. We are licensed and insured and have been remodeling homes in Colorado Springs since 2000. For projects involving moisture intrusion, structural fixes, or adherence to manufacturer warranty terms, professional assessment is the prudent path.
Helpful resources and standards
For flatness and installation tolerances we consult industry guidance such as the National Wood Flooring Association. For moisture testing methods and research on moisture and flooring, see the University of Minnesota Extension resources on floor moisture and indoor environments. For manufacturer specific moisture and installation instructions, review the technical literature from the flooring brand you plan to use. These references help us select tests and corrective materials that meet product requirements and code where applicable.
Key takeaway
Subfloor preparation is a critical, sometimes unseen part of a successful flooring installation. Proper inspection, moisture testing and corrective work reduce callbacks and protect your investment. Homestead Improvements treats subfloor work as part of the remodel, and we coordinate needed repairs and testing before the finish floor goes down.
Frequently asked questions
How long does subfloor preparation add to a flooring job?
It depends on the scope. A simple fastening and spot leveling may add a day or two. Structural repairs, moisture mitigation or slab remediation can add several days to a week. We provide a timeline once we assess the site and explain the reasons for the work.
Will subfloor repairs void my new flooring warranty?
Improper repairs or skipping manufacturer specified tests can put warranties at risk. We follow manufacturer installation guidelines and document moisture tests and corrective work so the job meets the required conditions for warranty coverage.
Can I install new flooring over an old floor to save time?
Sometimes a floating floor over a sound substrate is acceptable, but layering over damaged or unstable material is not. We inspect the existing layers and advise whether a simple overlay is appropriate or whether removal and repair are the safer option.
What tests do you run for moisture?
For wood we use pin and non invasive meters to check moisture content. For concrete we use in situ relative humidity tests or surface moisture tests consistent with the flooring manufacturer's requirements. We report results and recommend barriers or mitigations when readings exceed limits.
Learn more and check our local reviews
Read customer feedback and get directions from Homestead Improvements Google Business Profile, and explore our topic page on subfloor preparation to see common test methods and corrective options.