
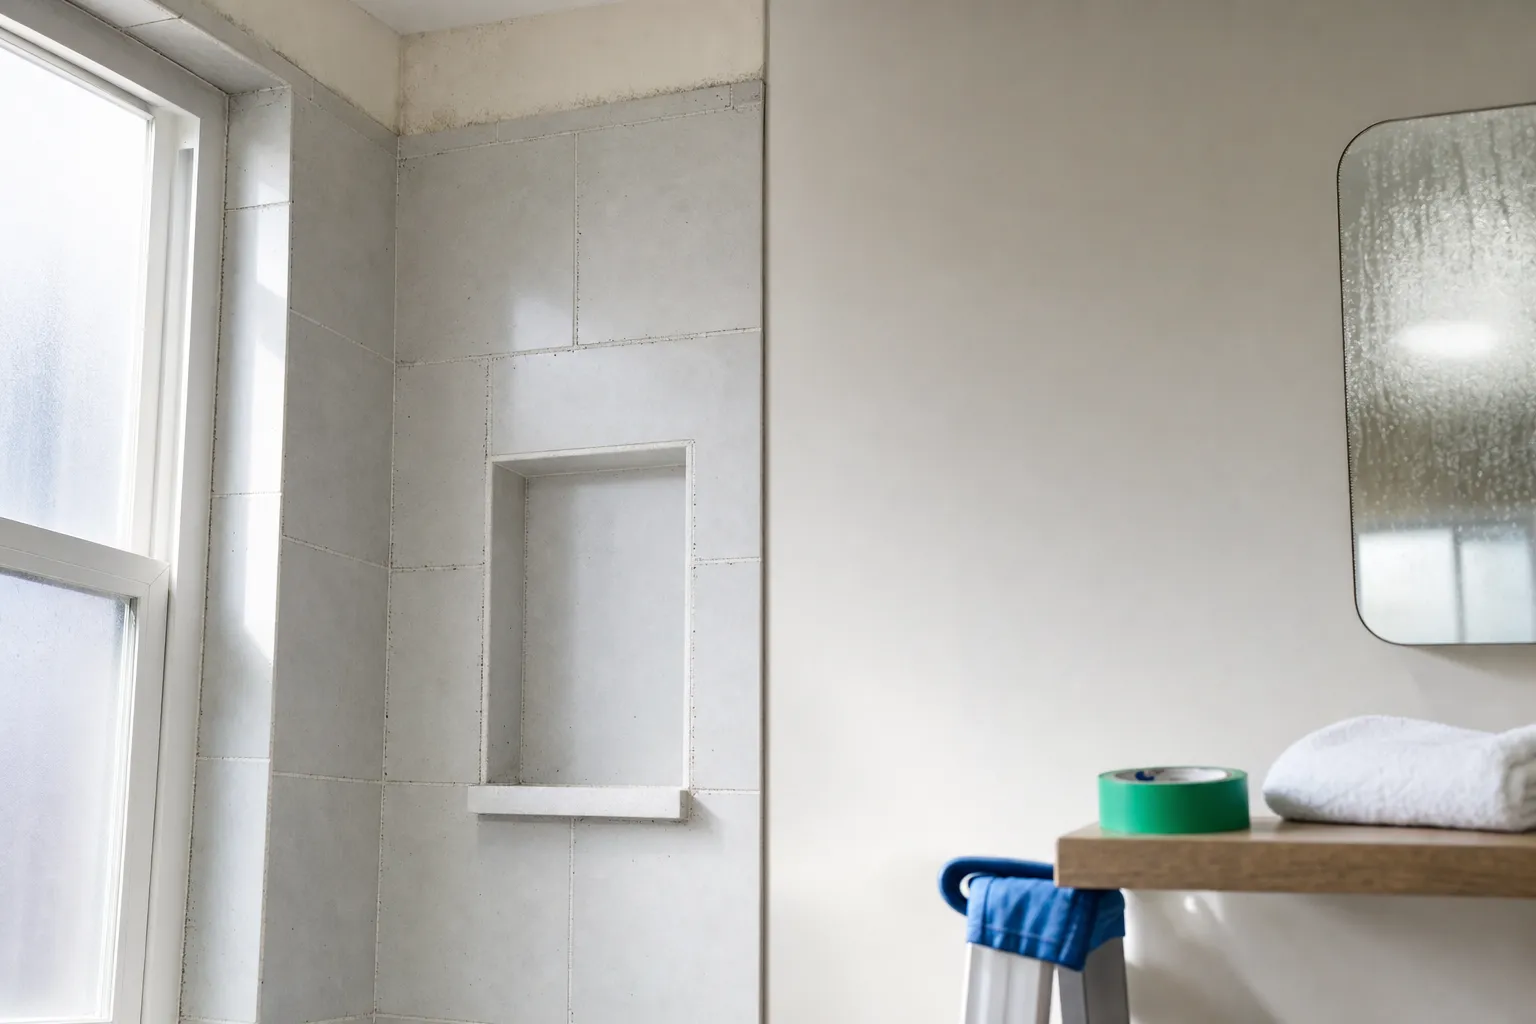
A strong drywall repair plan starts with identifying mold risk signs early, locating and stopping the moisture source, stabilizing or removing affected drywall, and specifying repairs and materials that prevent mold from returning.
What are mold risk signs
Mold risk signs are visible clues and environmental conditions that make mold growth likely on or behind drywall. We look for these during an inspection so repairs stop the immediate damage and reduce the chance of recurrence.
Common physical signs
- Discolored patches or dark spotting on paint or joint compound
- Peeling, bubbling, or flaking paint or texture
- Soft, sagging, or crumbling drywall and tape failure
- Musty odors that persist after cleaning
- Visible fuzzy growth or streaking along seams and corners
Environmental and system clues
- Repeated or prolonged dampness after leaks, floods, or roof or plumbing failures
- High indoor relative humidity, especially in basements and crawlspaces
- Condensation on windows, pipes, or cold exterior walls
- Evidence of roof leaks, flashing failure, or poorly tied-in skylights
Why this matters in Cimarron Hills and Colorado Springs
Mold risk affects livability and the long term condition of a home. In the Colorado Springs area, seasonal snow, spring runoff and summer storms can expose homes to moisture intrusion in roofs, walls and basements. Property managers, vacation rental hosts and homeowners often see mold issues after a single water event if the underlying moisture is not addressed.
For drywall repair to be durable, we need to treat both the material and the moisture problem. That is why our drywall work is coordinated with roofing, plumbing or ventilation fixes when necessary. Learn how we handle these overlaps on our drywall repair service page and why a roofing check can change the scope on our roofing repair page.
Key concepts we check during an assessment
- Source first, surface second: stopping water entry or vapor intrusion is the priority
- Hidden moisture: drywall can appear normal while backing or framing stays wet
- Material limits: some drywall and insulation must be removed to stop mold from returning
- Drying and verification: drying by itself is not enough, we verify moisture levels before finishing
- Finish choices: paint, primer and replacement materials matter for long term resistance
How we evaluate mold risk without guessing
We combine visual inspection with moisture measurement and selective sampling when indicated. Our checklist below shows the practical steps we take before recommending repairs.
Drywall mold risk checklist
- Inspect for visible staining, soft drywall and odor
- Measure relative humidity and use a moisture meter on the wall surface and stud cavities
- Trace probable water paths from roofs, windows, plumbing and exterior grading
- Confirm whether insulation or wall sheathing is wet or contaminated
- Decide on targeted removal versus full replacement based on contamination and structural condition
- Coordinate with roofing or plumbing services to stop further water entry
- Verify drying and acceptable moisture readings before sealing and finishing
What a responsible drywall repair plan includes
When we write a repair plan, it names the discovery, remediation limits and verification steps so clients and insurance adjusters have a clear, auditable scope. A complete plan typically includes these elements.
- Documentation of mold risk signs with photos and moisture readings
- Identification of the moisture source and the recommended corrective trade work
- Extent of drywall and insulation removal, if needed
- Drying method and target moisture level for clearance
- Materials and finish level for the repaired surfaces
- Post repair inspection and cleanup standards
What we will not do as a homeowner DIY substitute
We explain what we do so you understand the tradeoffs, but we do not provide step by step instructions that let readers skip professional work. Cutting into walls, handling hidden mold, or working on roofing and HVAC systems can create safety, contamination and insurance complications. For complex water intrusion jobs we bring the right subcontractors and manage permits and insurance coordination.
Pro tip: A small musty smell after cleaning is a reliable early warning. If airborne odour is localized to one room or closet, start with a moisture check and a roof or plumbing inspection, because surface patching alone often fails to stop the problem.
Common homeowner questions and short answers
Can I paint over mold stains?
Painting over active mold or over wet drywall hides the problem and traps moisture. We only finish when moisture levels are confirmed dry and any contaminated material that could support mold has been removed.
Is visible mold the only risk sign?
No. Musty smells, repeated staining after rain, and soft drywall are all important risk indicators even when mold is not immediately visible.
How soon should drywall be inspected after a leak?
Inspect within 24 to 48 hours after a leak to determine if drying is possible or if removal is required. Extended wetting increases the chance of mold and structural damage.
Related services that often matter
Managing mold risk often touches other trades. We coordinate these services when they are part of the solution.
- Roofing repair to stop exterior water entry, see our roofing repair page
- Flooring replacement or subfloor work when water reached lower levels, see flooring installation
- Plumbing repairs and leak location for hidden pipe failures
- Ventilation and HVAC checks to control humidity and improve air exchange
How location changes risk and repair choices
Homes in Cimarron Hills and greater Colorado Springs face specific patterns of weather and moisture. Steep temperature swings and winter snow introduce freeze and thaw cycles that can open flashing and roof details. We factor local exposures into the repair plan and often inspect exterior flashing, gutters and grading to reduce repeat problems. For local service areas, see our service areas and locations page.
Helpful external resources
For reliable background on mold health and cleanup guidance, we recommend the Environmental Protection Agency and the Centers for Disease Control and Prevention:
Key takeaway
Successful drywall repair begins with identifying mold risk signs, stopping the moisture source, and verifying dryness before finishing. Addressing the underlying problem is what prevents repeat damage and keeps living spaces healthy.
Frequently asked questions
How do you decide whether drywall must be removed?
We base the decision on visible contamination, moisture meter readings, the length of time the material was wet, and whether insulation or framing is affected. If mold is likely to persist inside the cavity, removal is usually required.
Can a roof leak cause hidden mold behind drywall?
Yes. Roof leaks can track into wall cavities and cause hidden moisture. That is why we inspect attics, roof penetration points and interior finishes together when mold risk signs appear.
What inspections and measurements do you use?
We use visual inspection, moisture meters on surfaces and studs, relative humidity checks, and targeted sampling only when results will change the repair approach or are requested by an adjuster.
Where to learn more and check our local presence
Read customer reviews and get directions on our Google Business Profile, and learn more about related topics and services on this site.